In this blog, I will introduce how to create points on a map using ArcGIS Pro. DH requires creating points on maps quite often because it can provide a clear sense of the geospatial information involved in the project. For example, this technique can be beneficial if you have pictures and want to find where you took the photos.
Let’s start our tutorial by adding higher education institution spots in Northfield.
Step1: Open ArcGIS Pro
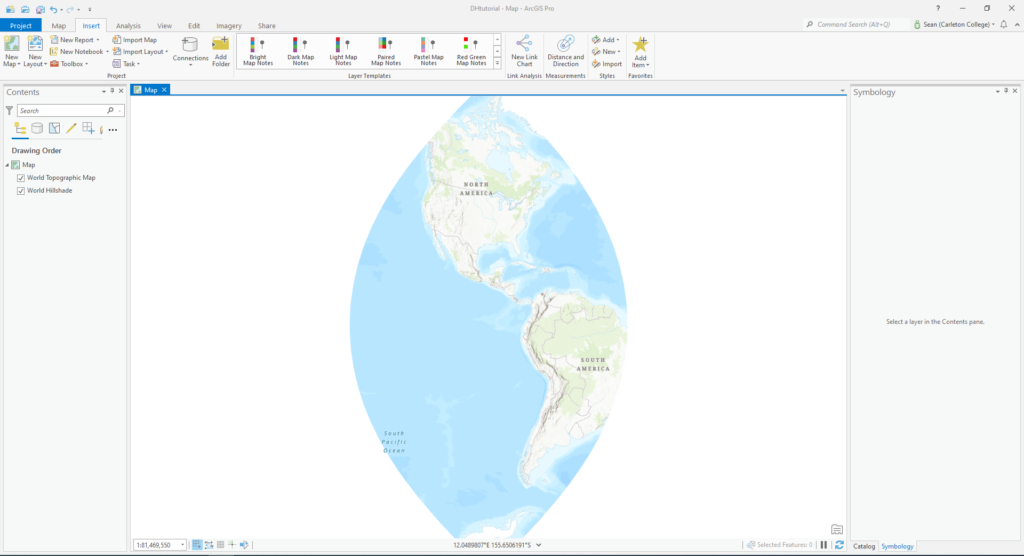
We need to first create a map on ArcGIS Pro.
Step2(Optional): Add a polygon for the boundary
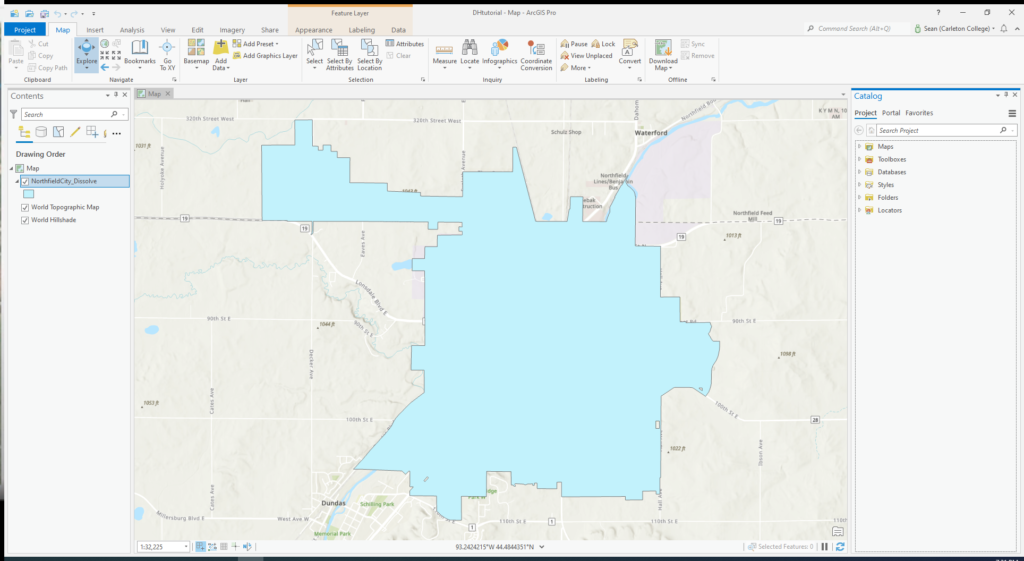
To give the audience a better knowledge of the geospatial boundary of the project, it’s a good idea to add the polygon on the map. In this case, I said a Northfield polygon.
Step3: Create point feature class

Now it’s time for us to create a new feature class. Go to Catalog, expand Databases, find the one you want your feature class to be in, and right-click it. Go to New and select Feature Class.
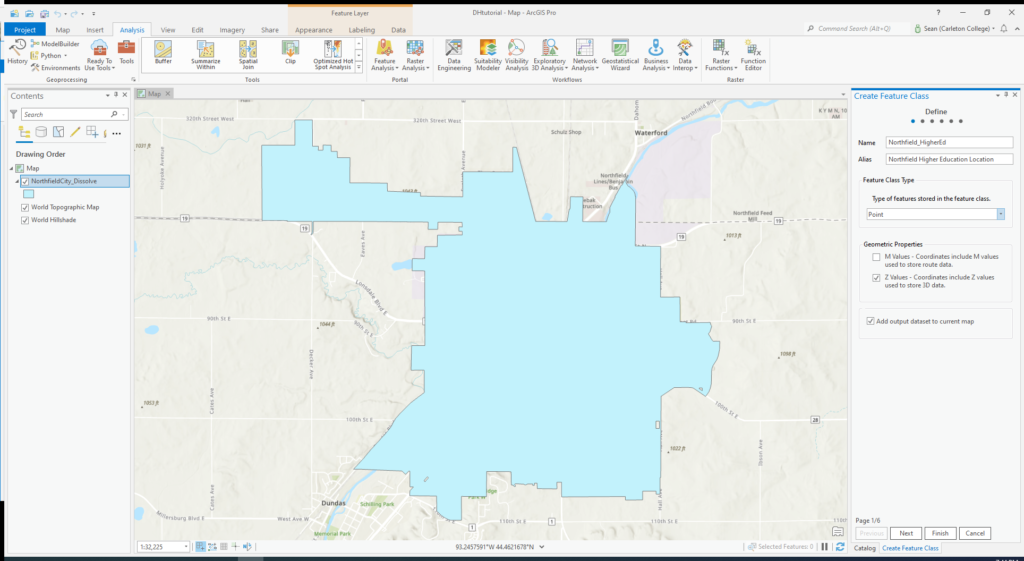
We must define the feature by entering the points’ names and alias. Then we need to select Point to create points on the map.
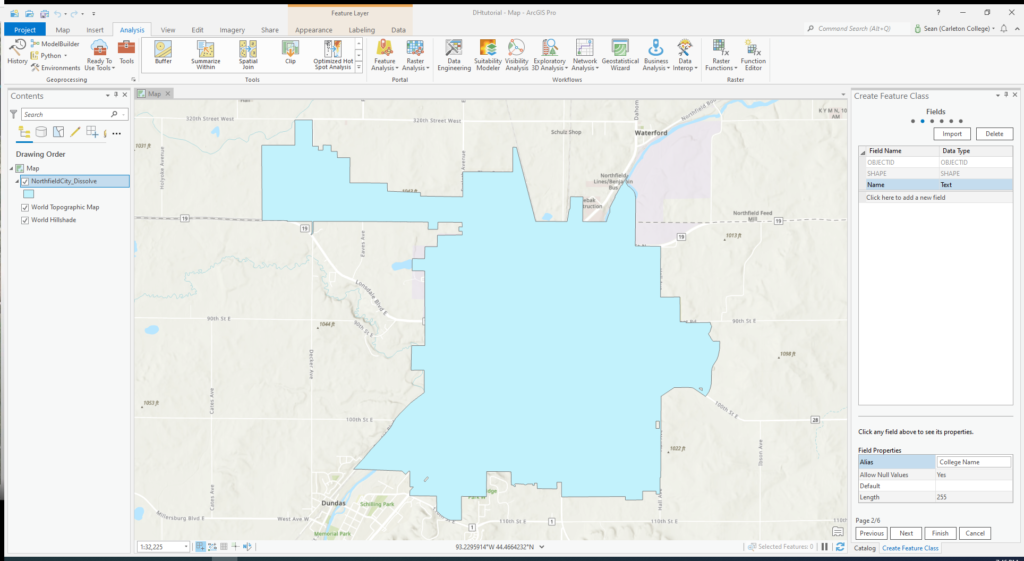
We can enter the field names and their data type to set up the attribute table for the points we create. In this case, I added the name of the institutions.
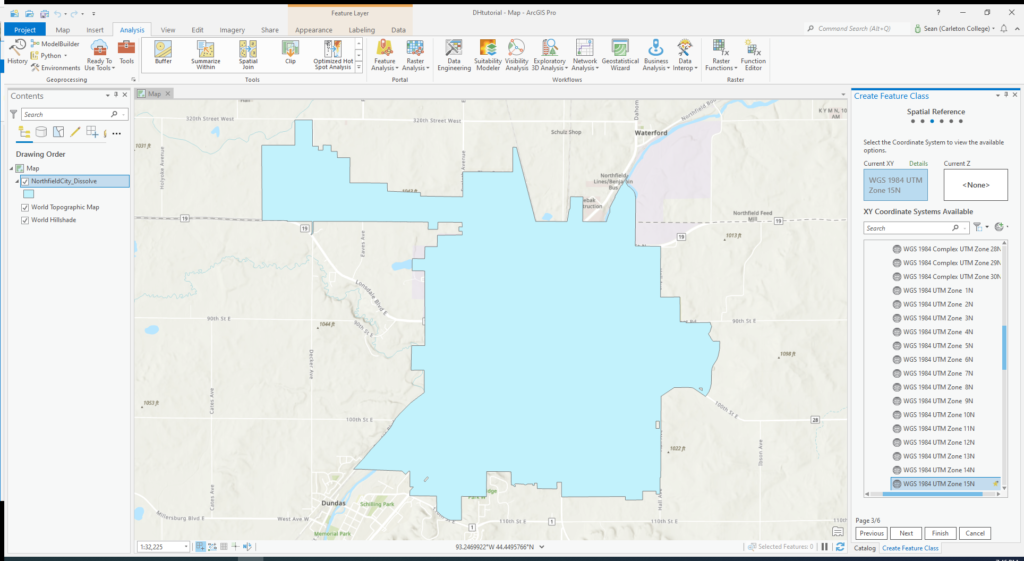
The spatial reference is critical in GIS. In this case, you would want your feature to have the same projection as other layers on the map.
Step4: Edit the symbology
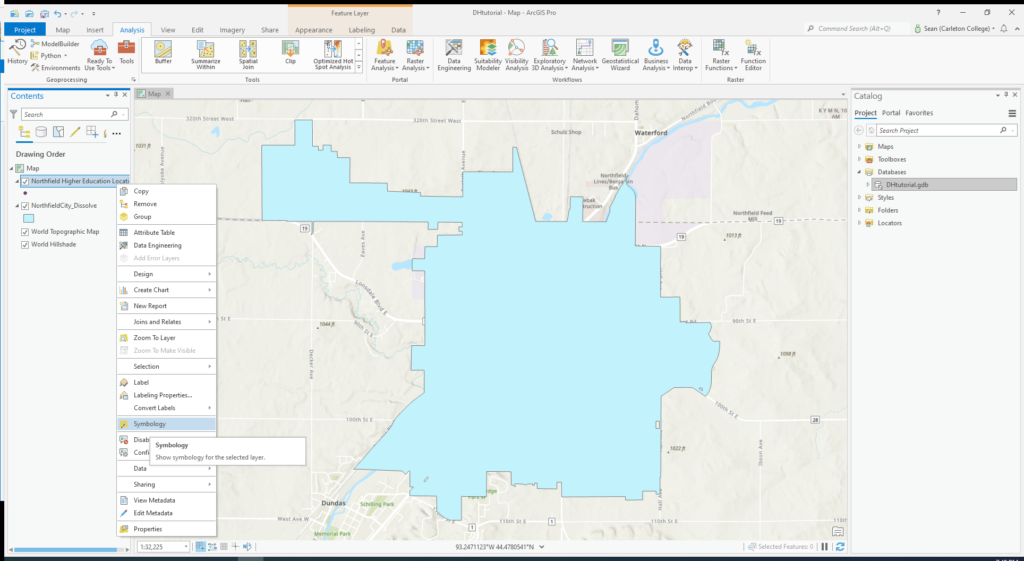
You can give your points more information by changing their symbology. Right-click your feature layer and click Symbology.
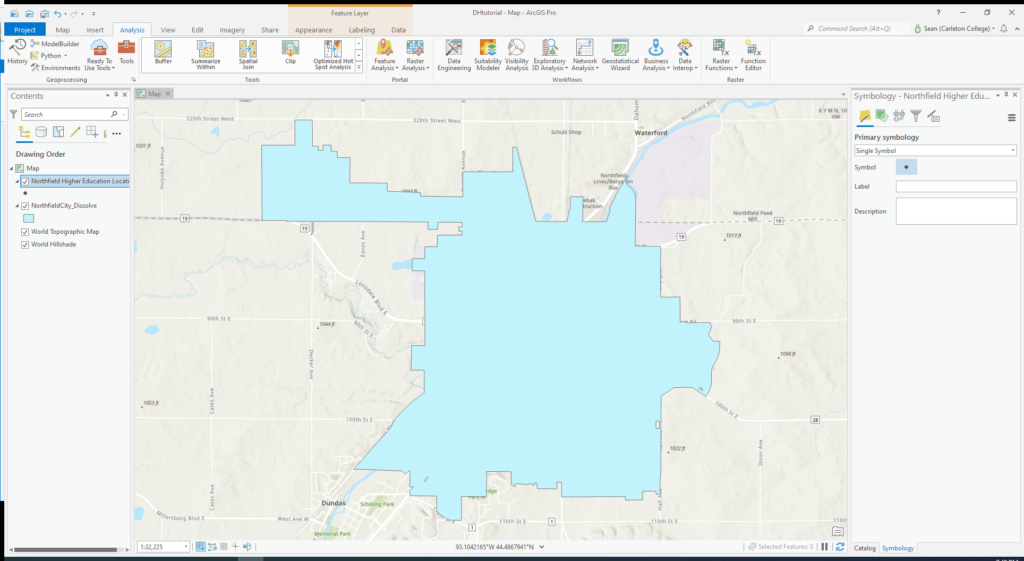
Click the dot next to the Symbol.
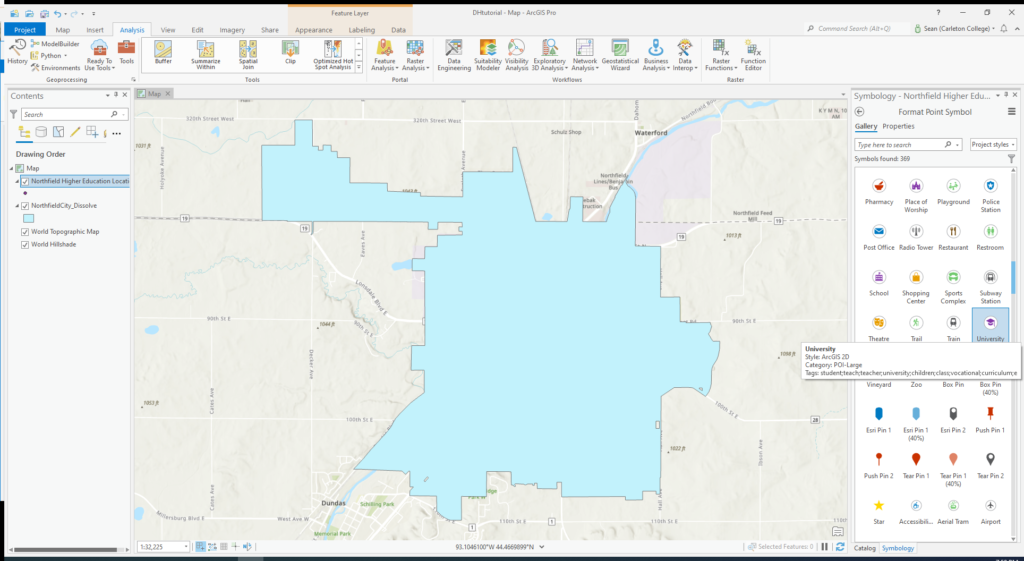
Now you can choose whatever symbol you like to represent your points. In my case, I chose the University one.
Step5-1: Create points

Go to Edit, click Create, then choose the template you will create. In my case, it was the Northfield Higher Education Location.
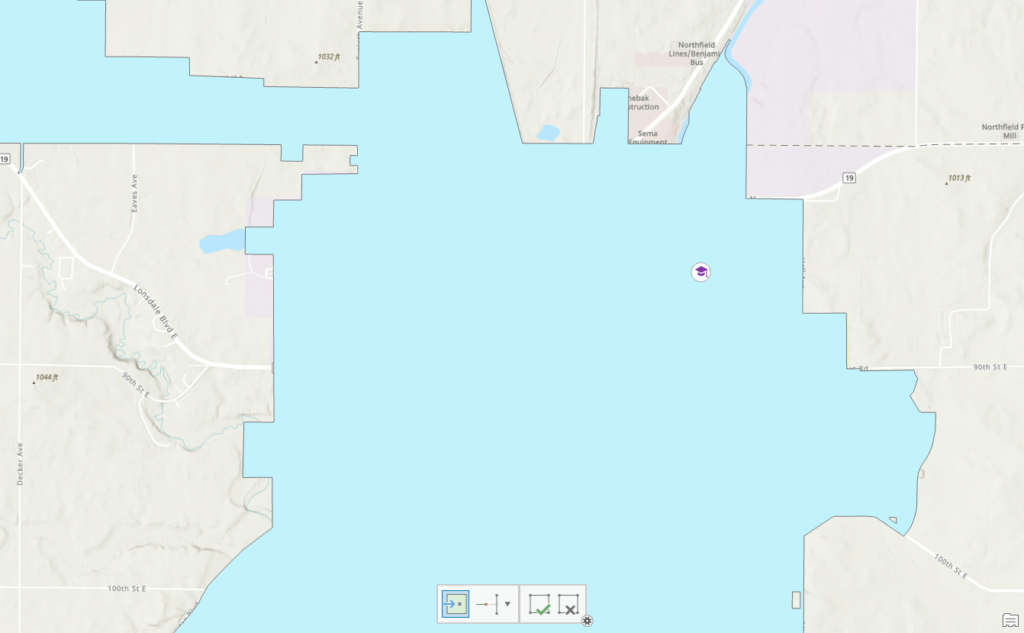
Finally, we can create our points! You can generate the point by simply clicking on the map. I click the position of Carleton College and St. Olaf College.
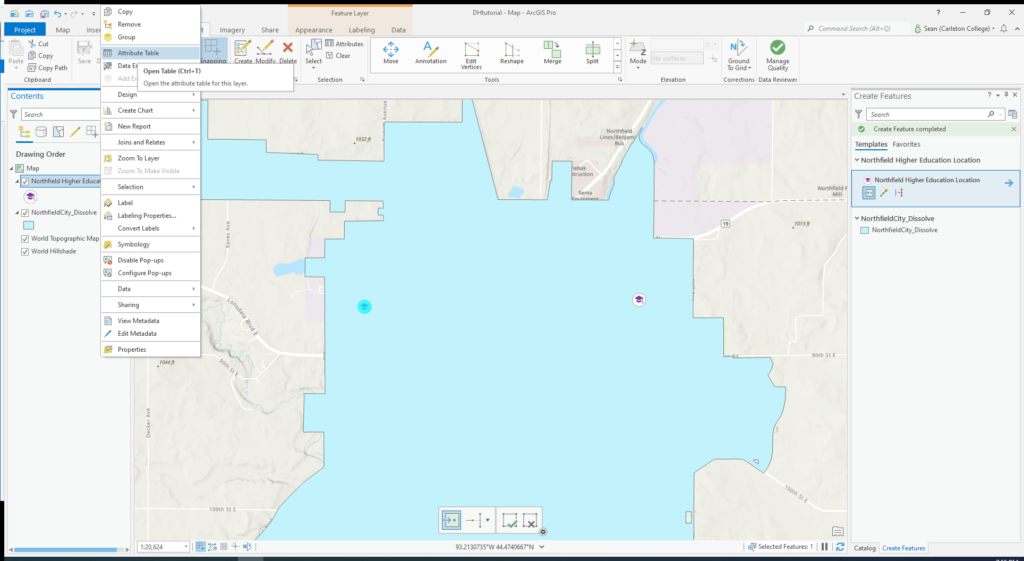
After plotting the point, we need to add more information for each point. Right-click the feature layer and click Attribute Table.

Now we can enter the information for the points. I entered the name of each point I created.
We are finally done!
Further resources:
4 thoughts on “Tutorial: Create points on a map”
Comments are closed.
This was a great tutorial! For my groups final project (which involved arcgis) we used the web version so it was cool to see the same thing done but with arcgis pro! I thought your tutorial was very easy to follow.
Thank you that was really helpful! This is a clear and detailed tutorial and I found it easy to follow. I am a beginner in ArcGIS Pro and I have never used any software that is similar to this one, so it’s good for me to learn what it can do from reading a tutorial like this.
I agree with Cullen and Katrina, this tutorial was super easy to follow. The steps are very specific and full of helpful details. I had to use ArcGIS pro for another class and we struggled a lot to make plots the way we wanted to with all the information we needed. It would have been nice to have this tutorial then 🙂 Another thing that I have found difficult in ArcGIS Pro is exporting maps in the format that I wanted with all the necessary information, maybe if this tutorial had a second part explaining how best to export and share maps would be a great place to start.
Cool tutorial. I liked how detailed each step was. It was super easy to follow along. This reminded me of what my group did with our final project in ArcGIS