In this tutorial, I will provide information on how you can use Autodesk Infraworks and Autodesk Fusion 360 to map the elevation of a geographic area, edit it, and eventually convert it into a 3D printable model. This process would be extremely useful in modeling terrain for geographic analysis. The 3D printing aspect would be useful for elevation visualization. For example, the previous Hacking the Humanities project for 3D printing Carleton’s campus used a 3D elevation model underneath to accurately visualize the geography of campus.
Walkthrough
To begin, you will need access to Autodesk software. This tutorial uses Infraworks and Fusion360 which are both available with the Autodesk educational plan. Although this tutorial uses these software services, this process is possible using other methods, which I briefly mention at the end of the post. That being said, lets first download the necessary software.
- Download Infraworks and Fusion360


- Once downloaded, open Infraworks and select Build a Model

- Select the region of geography that you want to model.
- You can use the selection tools to change selection methods.
- Make sure to keep your selection small (<20km²) or otherwise we will not be able to convert it to STL and print it. There are likely methods of stripping a larger model so it is small enough, but this blog does not cover that in depth.
- Select a coordinate system to use for your model (perhaps should be specific to your area)

- After creating the model, open it from your Infraworks home page.

- Once the model is opened, you can explore the geographic data by translating/rotating using left mouse, right mouse, and the scroll wheel.
- This data has a lot of detail, much of which we are about to get rid of to isolate the information needed to 3D print as an STL object.
- Select the Present/Share tab, open the Share apsect to select Export 3D Model…
- The following window can be used to shrink the selected area if it is too large (might be back here later if you need to trim down the file to convert to STL)
- Make sure to note the file name and location
- Export


- Now we have an FBX object but to 3D print we need it in STL format. This can be done using free online conversion tools but we can and will just use AutoDesk Fusion360.
- Open Fusion360 and select the Upload option from the file icon in the top right.
- Upload your FBX file
- NOTE: If your file is too big, this is where you might have issues. A file size >150KB will almost surely not upload so some size below that should work. If your file is too big, go back to Infraworks and re-export the 3D Model with a smaller section.


- From the same window as the upload last section, open your newly uploaded fbx file.
- Check out your model using this software. Feel free to do any edits on your model here using techniques you know or the tutorials I linked below.
- One particularly useful/important technique is reducing the size of the mesh for optimal printing. This can be done before or after exporting to STL but is easy to do within Fusion360.
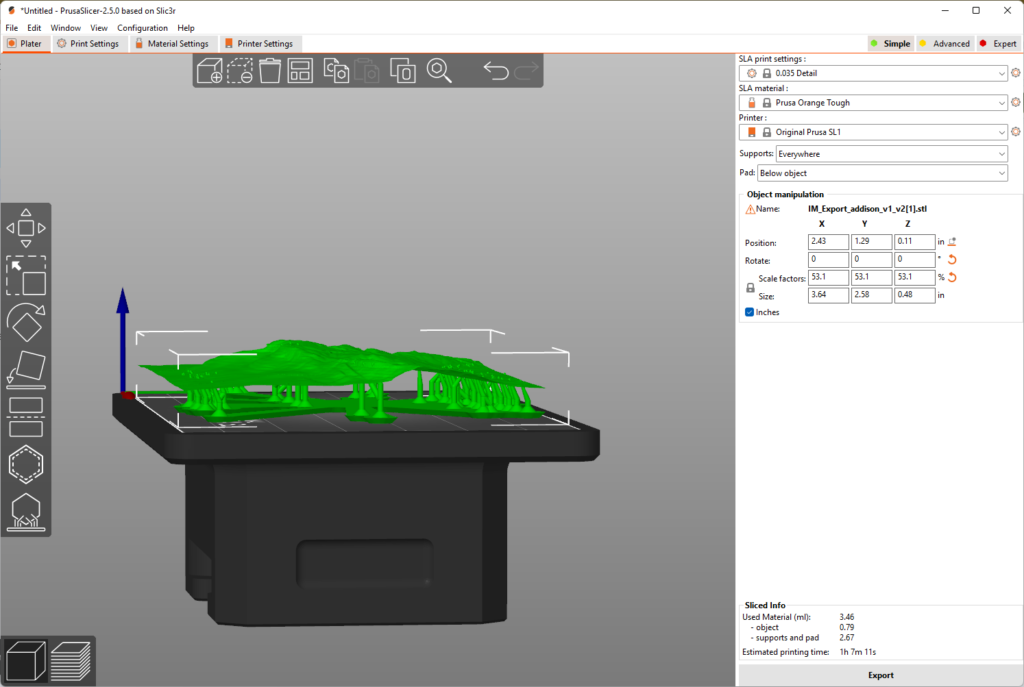
- Then, from the same window again, export the file as an STL.


- Voila! You now have an STL file that you can 3D print!
- If your file is decently large (>30MB) then consider using Fusion360 to decrease the size for better printing. This can be down following the tutorial linked below.
- You will also likely need to add measurements/lengths to your model so the printer knows the size to print.
- Finally we just need to 3D print. I have not been able to follow through with this final process, so I do not have photos for this process. But with a reasonably sized STL file, we can just follow the tutorial linked below courtesy of Aaron Heidgerken-Greene to get our final 3D printed elevation map.
- For Carleton students, 3D printers can be access in the makerspace within the basement of Anderson Hall. Please respect the space and adhere to any courtesy rules or regulations as expressed by Student Managers or Aaron himself.
- For any help, ask the student managers or Aaron for guidance.
- For those doing this at home, following the instructions in accordance with your 3D printer.


- Congratulations! You have successfully printed an elevation map!
Further Resources
Other Methods
While Autodesk is a popular and powerful collection of tools, it requires money and hardware to run it properly. Another way that can be used to collect elevation data and get it into an STL file is described on this website. I personally found difficulty following these software as some are out of date, but there are other methods out there.
https://www.instructables.com/Make-3d-Printed-Topo-Maps-of-Anywhere/
3 thoughts on “How to 3D Print a Topological Map”
Comments are closed.
I’d never thought to use 3D printing to make a terrain model before, so it was really interesting to see how to do so. I also thought it was helpful that you included resources and other methods at the end.
Wow! This is a super cool way to use the 3D modeling skills that we learned in class. I can see how this could be useful in a number of different fields, specifically geology and earth sciences.
Your tutorial is cool! Initially, I thought that modeling a terrain will have something to do with trying to extrude a 2D image like a map. This might be possible. Nevertheless, a process like digital elevation visualization would be much better due to its relative ease. I feel like this technique will also be useful in architecture and construction in order to determine good locations for constructing roads and buildings.