
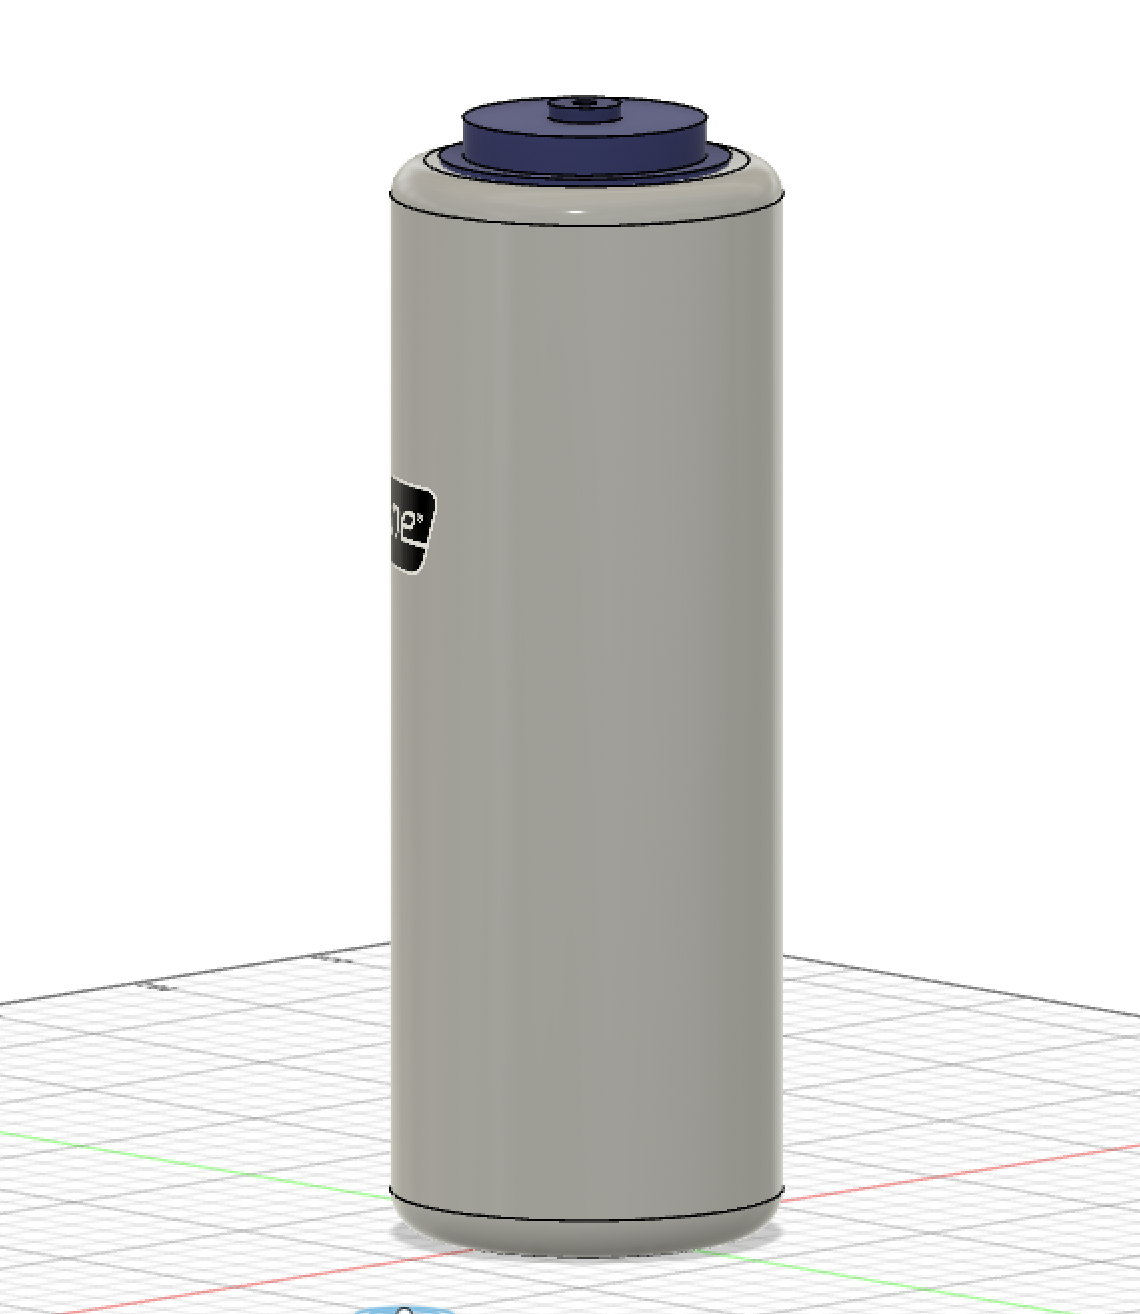
Making this 3D model was challenging. It ended up taking me a very long time. Most of the difficulty was with learning how to combine two components and make more unique shapes (beyond a cylinder and/or cube). I spent a long time (and many google searches and youtube tutorials) trying to move and combine the lid with the body of the water bottle. It ended up being very simple, just a matter of orbiting the perspective so I could determine what planes I was moving the piece on. One thing that I am particularly proud of in with this model is logo. This was a feature of my model I wanted to include in order to make it look more accurate and it ended up being relatively simple. To accomplish this I uploaded the image of the logo to my admin project in Autodesk and then I used the Decal tool (under Insert). The tool allows you to select an image from your project space and place it onto a plane of your model. I couldn’t figure out how to sufficiently resize it but moving it around on the body of the model was simple.
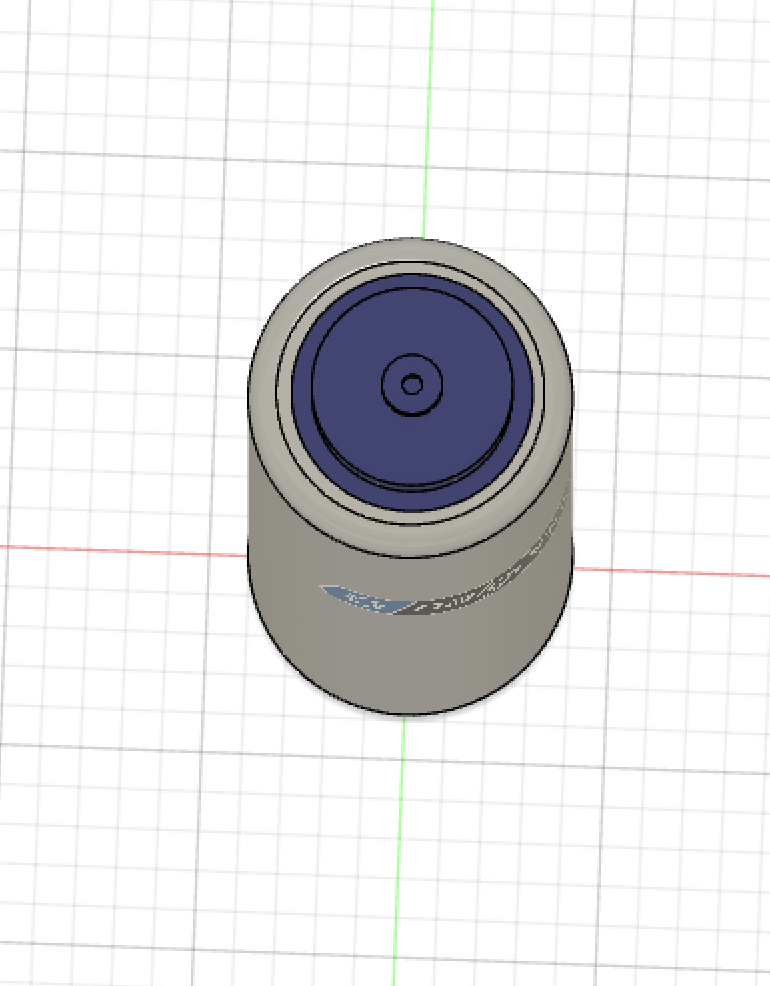
A big compromise I made was forgoing the loop on the lid. This is a big feature of the design and I tried many different ways of creating something that would replicate this feature but I nothing worked the way I wanted it to. I ended up spending so much time trying to figure this out and with the rest of the design that I decided it was not something I wanted to spend more time on.
Despite being slightly disappointed I could not figure out the loop I am overall very proud of how it turned out. Plus many of the loops in my waterbottles over the years have broken and end up looking just like this one.
I can see 3D modeling with this tool having a lot of potential uses in research and teaching, specifically with its ability to create sharable models of objects or places. This ability increases the accessibility of information and opportunities for research beyond what an individual can physically see or touch.

4 thoughts on “Creating a 3D model”
Comments are closed.
This is sweet!
I love the logo on the bottle. I don’t blame you for not putting the loop on the lid, that seems like a hard task.
On my next model, I need to play around with the colors – like you did with the lid, logo, and bottle. I like how the grey color you chose seems semi-transparent like a real nalgene.
This looks so good! I also did a nalgene water bottle, but I think the way you were able to get the top and bottom edges curved looks really realistic. I didn’t have the patience to figure that part out. I also love the logo. It took me a long time, but I was able to add a loop to mine by drawing two concentric ellipses on the XZ plane (I think) and then extruding from there.
This is a great model! I like the logo also and it makes the water bottle look very realistic. I also appreciate the detail you include on how to make the logo, which could be very helpful to other people. I might follow your steps to experiment adding graphs. Agree with Cullen that the loop seems to be a hard task and your water bottle already looks impressive.